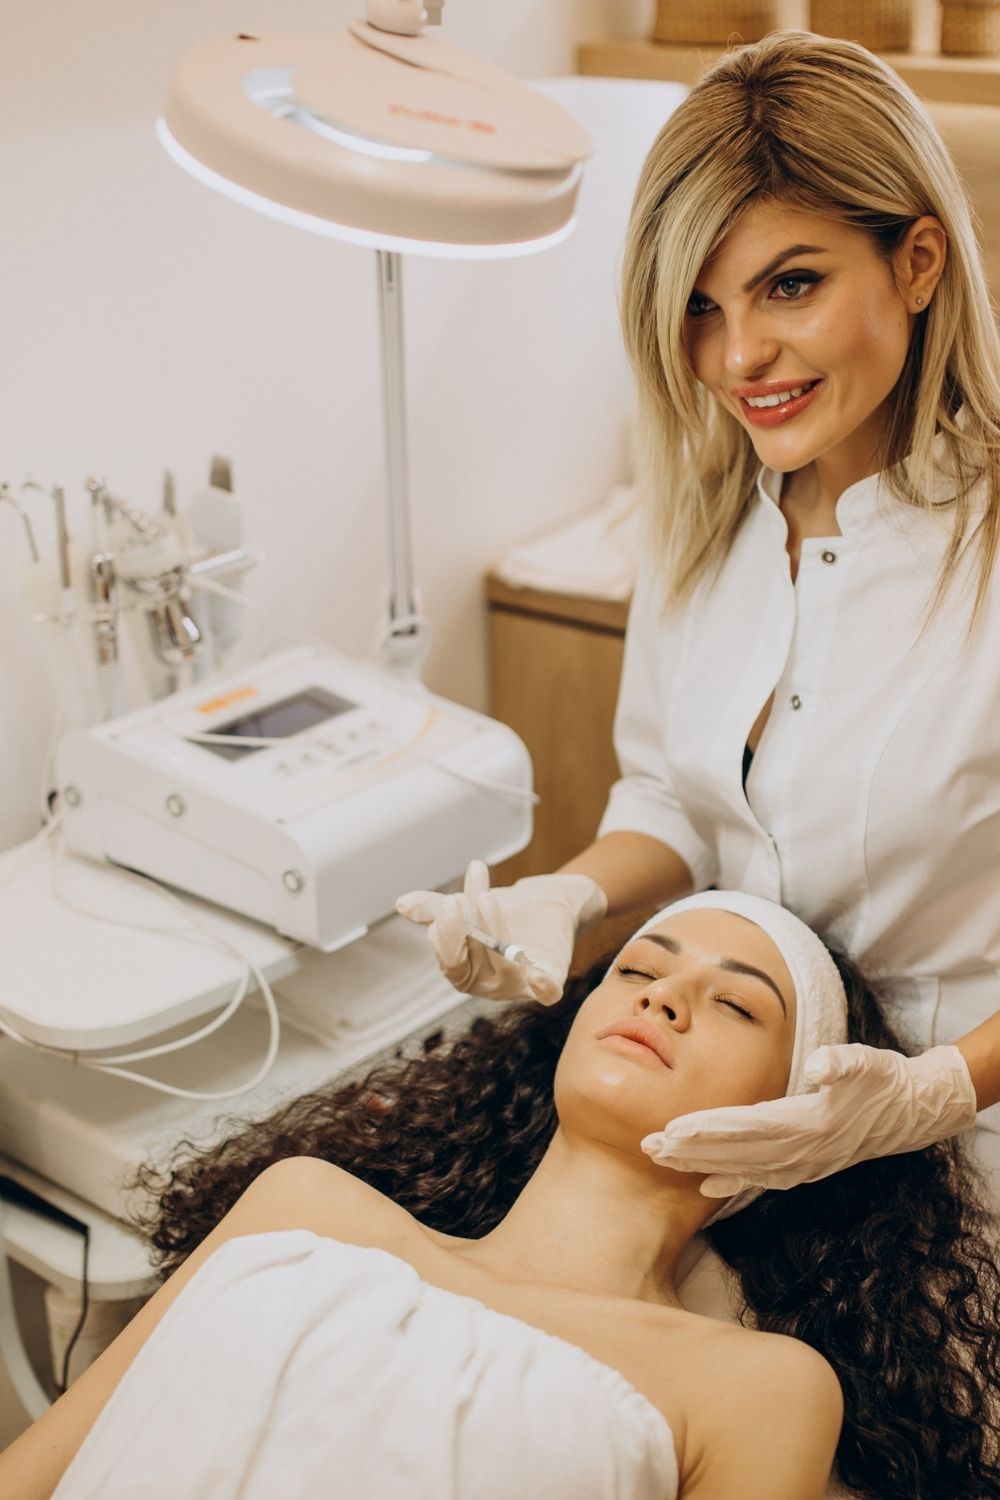
The benefits of dermarolling
You may be wondering, “How in the world is inserting hundreds of little needles into your face relaxing? And why would anyone want to do that?” It sounds crazy, but microneedling has a ton of benefits, including:
reduced wrinkles and stretch marks
reduced acne scarring and skin discoloration
increased skin thickness
facial rejuvenation
enhanced product absorption
For anyone who’s looking for a way to tackle these concerns at home, microneedling might be your answer. Here’s what you need to know about this miraculous process.
What’s microneedling?
Microneedling, often referred to as dermarolling or collagen induction therapy, is a cosmetic procedure in which thousands of tiny little needles are inserted into the surface of skin via a rolling or stamping device.
Dermarolling works by creating microscopic wounds which induce collagen and elastin production. If you didn’t know, collagen is the most abundant protein found in the human body and is responsible for holding together connective tissue like skin, muscles, tendons, cartilage, and bones.
This lovely protein is also what keeps us looking young and gorgeous. Unfortunately, it’s believed that collagen production slows down by about 1 percent per year after the age of 20, which translates to the big A word — aging.
Despite how terrifying dermarolling may seem, it’s actually considered a minimally invasive procedure with little to no downtime. However, the recovery process does depend largely on the length of the needles used. Obviously, the longer the needles, the deeper the wound — and that means the longer the recovery time.
What size derma roller is best?
This will depend largely on what you’re trying to accomplish. Since we’re all about simplicity, here’s a table summarizing what length should be used depending on what you’re trying to treat.
| Concerns | Needle length (millimeters) |
| shallow acne scars | 1.0 mm |
| deep acne scars | 1.5 mm |
| enlarged pores | 0.25 to 0.5 mm |
| postinflammatory hyperpigmentation (blemishes) | 0.25 to 0.5 mm |
| skin discoloration | 0.2 to 1.0 mm (start with the smallest) |
| sun damaged or sagging skin | 0.5 to 1.5 mm (a combination of both is ideal) |
| stretch marks | 1.5 to 2.0 mm (avoid 2.0 mm for home use) |
| surgical scars | 1.5 mm |
| uneven skin tone or texture | 0.5 mm |
| wrinkles | 0.5 to 1.5 mm |
Note: Microneedling won’t help postinflammatory erythema (PIE), which is redness or pink blemishes. And be aware that derma rollers or microneedling instruments that are greater than 0.3 mm in length are not approved or cleared by the Food and Drug Administration.
How to use a derma roller
Follow these steps precisely to avoid any hazards and unwanted infections.
Step 1: Disinfect your roller
Disinfect your derma roller by letting it soak in for approximately 5 to 10 minutes.
Step 2: Wash your face
Thoroughly cleanse your face using a gentle pH-balanced cleanser. If you’re using a derma roller with needles longer than 0.5 mm, you’ll also need to wipe down your face with 70 percent isopropyl alcohol before the rolling process.
Step 3: Apply numbing cream, if needed
Depending on your pain tolerance, you might need to apply an anesthetic cream. However, you’ll most certainly want some numbing cream for anything above 1.0 mm, since that needle length will draw blood via pinpoint bleeding.
If you use numbing cream, follow the instructions the manufacturer provides, and make sure to completely wipe it if off before you start rolling! is a great option.
Step 4: Begin derma rolling
The technique is very important, so listen closely! Splitting up your face into sections makes the whole process easier. Here’s a visual of what that looks like:
Avoid rolling in the shaded area, which represents the orbital (eye sockets) area.
Roll in one direction 6 to 8 times, depending on your skin tolerance and sensitivity, and make sure to lift the roller after each pass. So, roll in one direction. Lift up. Repeat.
Lifting the derma roller after each pass prevents the dreaded “track marks” that make you look like a cat clawed your face.
After you roll in the same place 6 to 8 times, adjust the derma roller slightly, and repeat. Do this until you’ve covered the entire section of skin you’re treating.
After rolling in one direction, it’s time to go back over the area you just rolled and repeat the process in the perpendicular direction. For example, say you finished rolling across your forehead vertically, now would be the time to go back and repeat that entire process horizontally.
By the end of this entire procedure, you should have rolled over each area 12 to 16 times — 6 to 8 horizontally, 6 to 8 vertically.
Contrary to popular belief, we do not need to roll diagonally. Doing so creates an uneven pattern distribution with more stress on the center. If you decide to do this, please be careful and take extra precautionary measures.
Here’s a video that also goes over the proper dermarolling technique just explained.
Step 5: Wash your face with water
After you’re done microneedling, rinse your face with water only.
Step 6: Clean your derma roller
Clean your derma roller with dishwasher soap. Create a soapy water mix in a plastic container, then swish around the roller vigorously, making sure the roller doesn’t hit the sides. The reason we use detergents like dish soap directly after rolling is because alcohol doesn’t dissolve the proteins found in skin and blood.
Step 7: Disinfect your roller
Disinfect your derma roller again by letting it soak in the 70 percent isopropyl alcohol for 10 minutes. Put it back in its case, give it a kiss, and store it somewhere safe.


