As the Cocador content team, we will continue to provide you with useful amigurumi articles. In our previous post, we looked at the origins of amigurumi, its popularity, the distinctions between it and crochet, and simple amigurumi patterns for beginners. You may find it here if you want to have a look. We present you with 2 easy and lovely crochet amigurumi animal patterns for beginners.
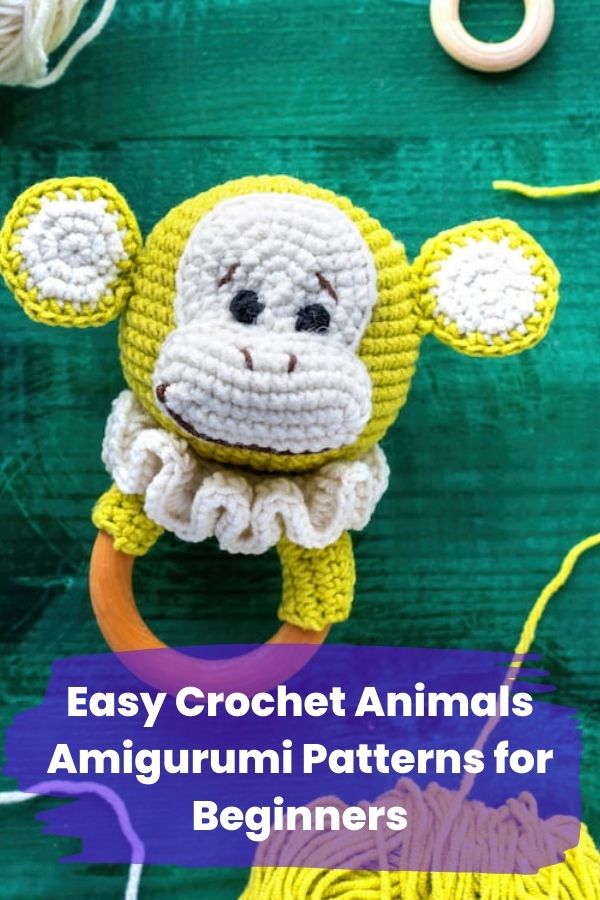
2 Easy Crochet Animals Amigurumi Patterns for Beginners
You can find tons of amigurumi patterns online. Especially animal amigurumi are the most popular. All you need to do is type two words like amigurumi elephant, cat amigurumi, amigurumi cow, dinosaur amigurumi, bumblebee amigurumi and so on. In this article we present various amigurumi patterns.
1 – Baby Brussel Sprouts
A Christmas feast without Brussels sprouts just isn’t the same. You may knit them whether you love them or loathe them. You can hang these from your tree or use them as amusing places setting decorations for your dinner table. Instead of knitting in the round, each sprout is knit flat (back and forth) on a pair of single pointed knitting needles. Cast on with a long tail. Leave at least a 30 cm tail after cutting the yarn. Pull the stitches off the knitting needle and onto the yarn, gather them tightly, and secure with a knot. Thread the tail onto a darning needle.
Seaming: Use mattress stitch for seaming toys.
One size: 5cm wide.
Tension: 24 sts x 30 rows for a 10cm x 10cm square
in stockinette stitch on 3.5mm needles. Don’t worry
about tension for this pattern, it is not critical.
SPROUT
- Make 1. Start at the bottom. Cast on 7 sts in green on 3.5mm needles.
- Row 1 and all following WS rows: Purl
- Row 2 (RS): [Kfb] 6 times, k1 (13 sts)
- Row 4: [K1, kfb] 6 times, k1 (19 sts)
- Row 6: [K2, kfb] 6 times, k1 (25 sts)
- Row 8: Knit (25 sts)
- Row 10: [K2, k2tog] 6 times, k1 (19 sts)
- Row 12: [K1, k2tog] 6 times, k1 (13 sts)
- Row 14: [K2tog] 6 times, k1 (7 sts)
- Pull through to cast off.
- Add stuffing as you sew the side edges together.
- At the bottom, group the cast-on stitches.
- Attach two eyes to the sprout’s top (cast-off end).
OUTER LEAVES
- Make 3. Start at the bottom. Cast on 5 sts in green on 3.5mm needles.
- Row 1 (RS): Slip1, p1, k1, p2
- Row 2 (WS): Slip1, kfb, p1, kfb, k1 (7 sts)
- Row 3: Slip1, p2, k1, p3
- Row 4: Slip1, kfb, kfb, p1, kfb, kfb, k1 (11 sts)
- Row 5: Slip1, p4, k1, p5
- Row 6: Slip1, [kfb] 4 times, p1, [kfb] 4 times, k1
(19 sts)
- Row 7: Slip1, p8, k1, p9
- Row 8: Slip1, k8, p1, k9
- Row 9: Slip1, p8, k1, p9
- Row 10: Slip1, [ssk] 4 times, p1, [k2tog] 4 times, k1
(11 sts)
- Row 11: Slip1, p4, k1, p5
- Row 12: Slip1, ssk, ssk, p1, k2tog, k2tog, k1 (7 sts)
- Row 13: Slip1, p2, k1, p3
- Row 14: Slip1, ssk, p1, k2tog, k1 (5 sts)
- Pull through to cast off.
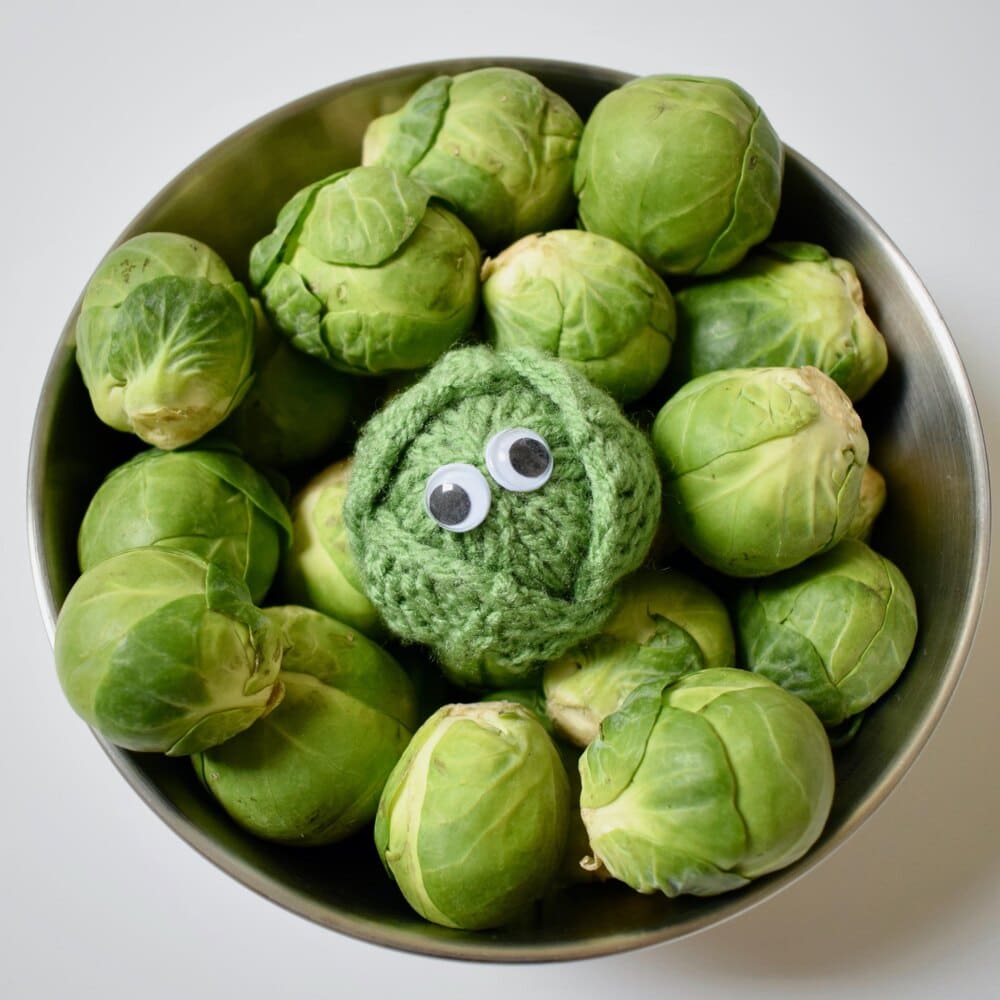
Baby Brussel Sprouts Amigurumi
If you liked this pattern feel free to share this post on Pinterest!
2 – Little Pumpkins For Halloween or Winter Vibe
26 Stitches x 36 Rows = 4 × 4 inches for the tension gauge (10 x 10 cm)
Finished Size of pumpkin: 9 cm in diameter and 4 cm high. (2.75 x 3.5 cm)
A beginner can use the pattern.
Pumpkin is flat worked up.
- Row 1 and ALL ODD rows – p Row 2 – (k1, m1) 10 times, k1. (21)
- Row 4 – (k2, m1) 10 times, k1. (31)
- Row 6 – (k3, m1) 10 times, k1. (41)
- Row 8 – (k4, m1) 10 times, k1. (51)
- Row 10 – (k5, m1) 10 times, k1. (61)
- Row 12 – (k6, m1) 10 times, k1. (71)
- Rows 14, 16, 18, 20, 22 & 24 – k. (71)
- Row 26 – (k5, k2tog) 10 times, k1. (61)
- Row 28 – (k4, k2tog) 10 times, k1. (51)
- Row 30 – (k3, k2tog) 10 times, k1. (41)
- Row 32 – (k2, k2tog) 10 times, k1. (31)
- Row 34 – (k1, k2tog) 10 times, k1. (21)
- Row 36 – (k2tog) 10 times, k1. (11)
Leave a lengthy tail of yarn, wind it through the needle’s final 11 loops, and pull to secure. After stuffing the pumpkin, sew up the side seam. Close the gap by pulling the yarn tail through the 11 cast-on stitches.
Pull tight and repeat around the pumpkin an additional five times to create six wedges by taking the yarn up the side and down through the center from top to bottom. Protect the end.
Stalk – using Caramel Cast on 7 sts
Row 2 – p
Cast off, and sew onto the top center of your pumpkin.
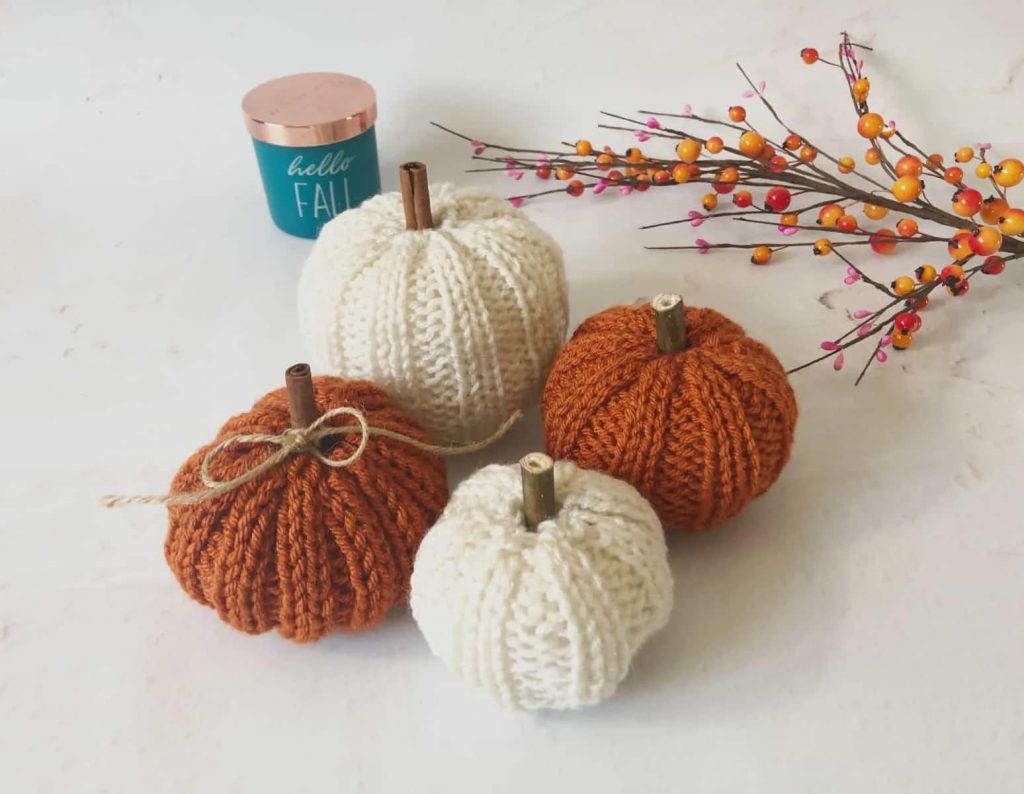
How to Make Amigurumi Little Pumpkins For Halloween or Winter Vibe
If you liked this pattern feel free to share this post on Pinterest!


