A dependable, waterproof shower pan, or floor, is essential to the overall operation of the shower. But a shower pan isn’t just about function. It’s about how it looks and how it feels underfoot. Building a custom tile shower pan in a mortar bed can help you create the perfect floor for your shower that’s both beautiful and waterproof.
Basics of Tiled Shower Pans
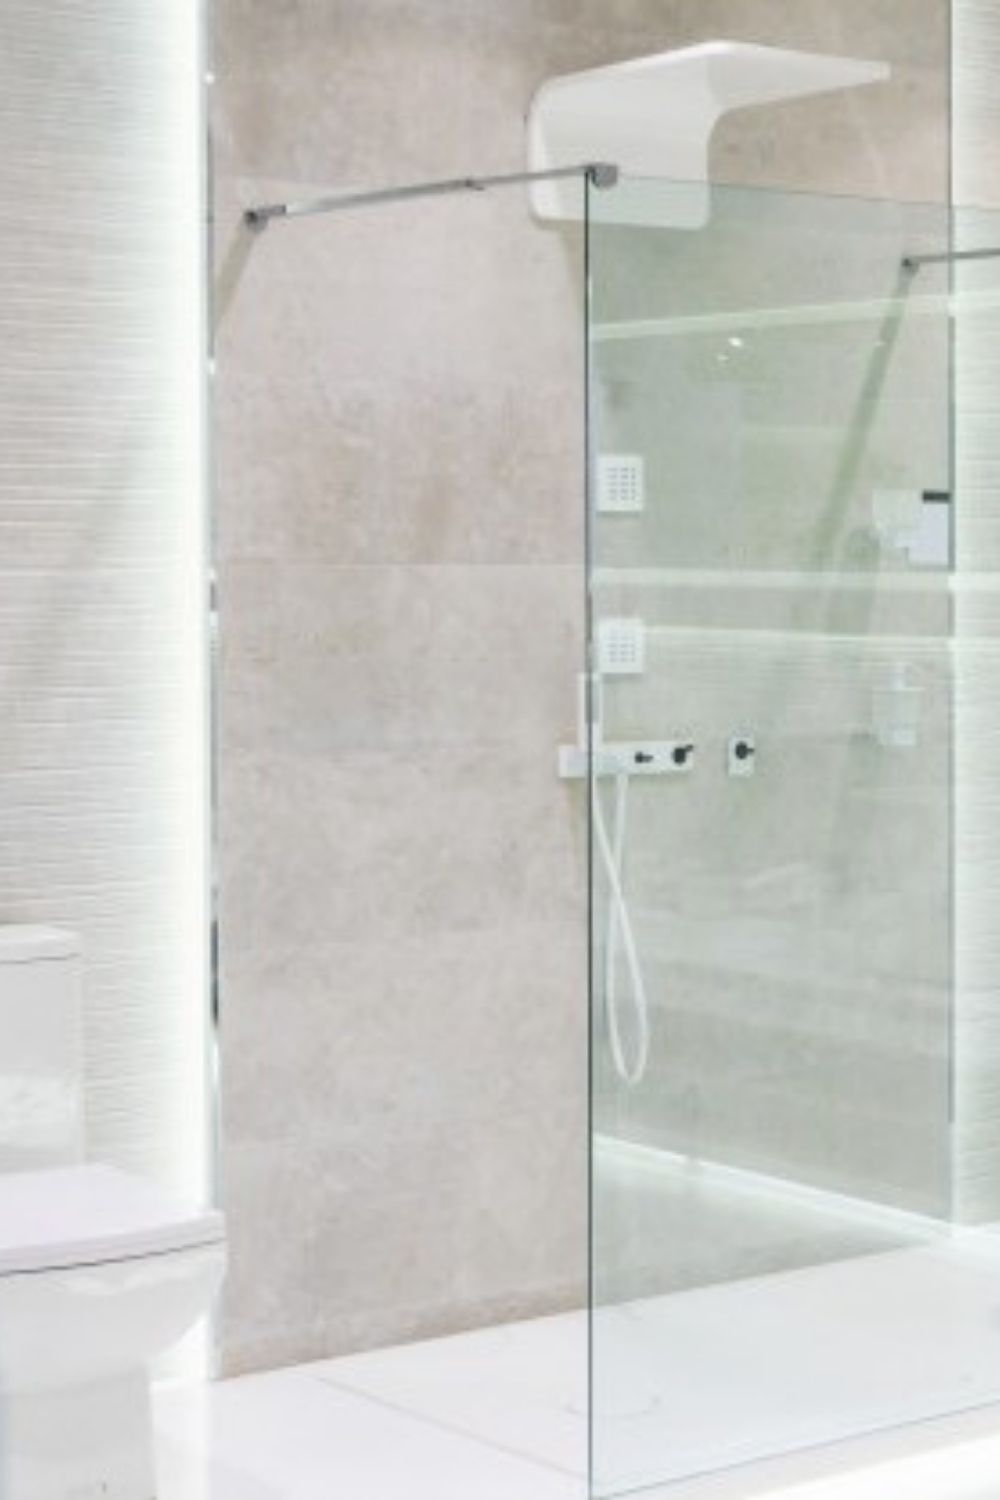
Shower basins are called pans, floors, or receptors. One popular way to create a shower pan is to install a pre-fabricated polyurethane or fiberglass pan. While pre-fabricated pans are a great convenience for do-it-yourselfers, the traditional way of making a shower pan with tile on a mortar base allows maximum creativity. You’ll build up several layers that create a slope toward the drain while keeping the surrounding materials waterproofed.
Preslope and Tar Paper
The shower pan preslope is a mortar base that creates the general tapered slope for the shower pan. This slope is later refined with a second bed of mortar. The preslope is laid on tar paper.
Waterproof Liner
The waterproof liner is a PVC or other polymer membrane that rests on top of the preslope. This liner is the last line of defense between water and the subfloor.
Top Slope
Resting above the waterproof membrane is a second bed of mortar that generally follows the same contours as the preslope.
Tile
The top shower pan floor covering is the tile. The tile is set in a thin bed of mortar or thinset. Later, grout is added to the tile seams.
Shower Curb
Three sides of the shower pan are bounded by shower walls. The curb is the open entry point where the user enters the shower. The curb is between two inches and six inches above the level of the shower drain.
Important
The lower area of the shower walls should be open, with no cement boards in place yet.
What You’ll Need
Equipment / Tools
Straight tile trowel
Notched trowel
Rubber tile float
Wet tile saw or rail tile cutter
Hammer
Tape measure
Pencil or chalk
Level
Bucket
Mortar mixing tray
Circular saw
Garden hoe
Caulking gun
Cordless drill
Utility knife
Materials
Tile
Bullnose tile
Dry mortar
Grout
Waterproofing membrane
Thinset mortar
Tile spacers
1 one-by-six
Tar paper
Roofing nails
Silicone sealant
Instructions
Block Between the Studs
Cut two-by-six lumber to fit between the studs of the shower stall. Where you have obstructions such as pipes, use one-by-six lumber or use a router to create a groove to accommodate the obstruction. Blocking allows you to run the waterproofing material up the sides of the shower.
Cover the Drain
Use tape and plastic to cover up the shower drain so that the mortar and other debris will not clog it.
Add the Tar Paper
Cut and lay down the tar paper to the floor of the shower. Fasten it down with roofing nails or staples.
Mix the Mortar
In the mixing tray, mix the mortar with water, using a garden hoe. Use only a little bit of water at a time to maintain a stiff, peanut butter-like consistency.
Spread the Mortar to the Borders
Wearing waterproof gloves, dump the mixed mortar onto the shower floor. First by hand, then with the trowel, spread the mortar around the base, mounding it higher around the edges. Aim for a height of about 1-1/2 inches on the border.
Taper Down the Mortar
With the flat trowel, taper down the mortar towards the shower drain. Use the scrap piece of two-by-four and level to continually check the tapered slope. You can also use the two-by-four as a screed to smooth down the mortar. Let this mortar bed dry for at least 24 hours.
Add Silicone to the Drain
Remove the top section of the shower drain by unscrewing or unbolting it. Run a thin bead of silicone around the perimeter of the drain.
Add the Shower Waterproofing Material
Lay the waterproofing material on the floor of the shower, running it about five inches up each of the walls. Press the material firmly into the silicone on the shower drain. Fold the corners into place; do not cut the corner material. Nail the top of the waterproof material to the studs to prevent it from falling down.
Replace the Shower Drain Top Cap
With the utility knife, create slits for the four bolts on the shower drain to protrude upward. Replace the top cap and screw or bolt it tightly into position. Cut out the hole for the shower drain.
Add the Lower Section of Cement Boards
You can now add the rest of the cement boards down to the level of the mortar bed.
Add a Reference Line to the Walls
With the rest of the shower drain temporarily in place, draw a pencil or chalk line around the perimeter of the walls to represent the top of the tile. Use the scrap two-by-four to help estimate the slope from the walls down to the shower drain.
Add the Top Mortar Layer
Similar to the lower mortar layer that you created earlier, mix mortar in the mixing tray, then dump it onto the floor of the shower. Build a high border around the perimeter of the shower, about 1/4-inch below the tile top perimeter line. With the trowel, taper down the mortar to the shower drain.
Tip
This top mortar layer must be very smooth, so take your time with it.
Install the Tile
Spread out thinset with the notched trowel and press the tile into the thinset. Use tile spacers to maintain proper distance between tiles. Let the tile fully cure. Spread grout across the surface of the tile with the rubber tile float.


