A glass tile backsplash in your kitchen or bathroom announces itself with shimmering light and rich colors. Glass tile is a favorite material for backsplashes because of its beauty, versatility, and durability. Installing a glass tile backsplash is made easy with a sticky thin-set mortar that secures the tiles firmly to the wall. Mosaic glass tiles in 12-inch by 12-inch squares are held together with a mesh backing—no need to set tiles one by one.
Tips For Installing a Glass Tile Backsplash
A laser level is helpful, though not necessary, for installing a tile backsplash. The laser line keeps your centerline in check, plus it ensures that the tile rows remain level.
Spend ample time dry-fitting the tile on the countertop before installing it on the wall. It’s better to have all spacing issues worked out ahead of time—well before working with the thin-set mortar.
With glass mosaic tiles, it is usually possible to avoid cutting tiles entirely with careful space planning.
Safety Considerations
Turn off circuits to all outlets in the backsplash installation area.
What You’ll Need
Equipment / Tools
Drywall knife,
Laser level,
Tape measure,
Scissors,
Notched trowel,
Hammer,
Rubber grout float,
Materials
Glass tile mosaic, 1-inch
Pre-mixed thinset mortar
Drywall compound
Scrap cardboard
Painter’s tape
Scrap one-by-two or one-by-four lumber
Plastic sheeting
Grout
Caulk
Instructions
Repair and Clean the Wall
Cover the countertop in plastic sheeting and tape down the plastic. The wall should be perfectly flat and free from bumps or depressions. Sand down bumps with a drywall sander fitted with a drywall sanding screen or sandpaper. Fill in depressions and cracks by smoothing them over with drywall compound.
Create a Countertop Spacer
The bottom row of glass tiles will require a space of 1/8-inch between the bottom of the row and the top of the countertops. A single layer of scrap cardboard taped to the counter with painter’s tape works well as a spacer.
Create a Temporary Ledgerboard
For areas outside of the countertop area, create a ledgerboard by screwing scrap one-by-two or one-by-four lumber directly to the wall. Make sure that the ledgerboard meets the height of the countertop cardboard spacer, not the countertop itself.
Establish the Tile Centerline
With the tape measure, determine the center of your tile installation field. Shoot the laser level’s vertical line at this spot.
Dry-Fit the Horizontal Dimensions
Lay out the tile on the countertop. At this point, you want to establish your horizontal spacing. Avoid placing cut tiles in visible places as much as possible.
For example, if there is a corner on the left side and a refrigerator on the right side, begin with full tiles on the left and end adjacent to or behind the refrigerator, again with full tiles. With outlets, you have a bit more tolerance because the outlet faceplate provides up to 1-inch of coverage in all directions.
With scissors, cut the mesh backing that holds the tiles together.
Dry-Fit the Vertical Dimensions
In most kitchens, the distance between the top of the countertop and the bottom of the wall cabinets is 20 inches. Two mosaic tile sheets stacked are 24 inches high, total. So, this gives you plenty of working room.
Hold up one section of tiles to the wall, resting on the cardboard spacer. Hold the second section so that it is 1/8-inch below the bottom of the wall cabinet and overlapping the bottom section. Determine where you want to cut the tile sheet.
Similar to the previous step, use scissors to cut the tile to its correct vertical dimension, plus make any cut-outs for electrical outlets.
Tip
It’s usually fine if you need to increase the upper 1/8-inch expansion space to 1/4-inch or even 1/2-inch. This area is not very visible since it is under the cabinets.
Spread Thinset on the Wall
Working in 2-foot square sections to prevent the thinset from drying on you, add thinset to the wall in a three-step process:
With the notched trowel, pull out thinset mortar and fan it across the wall, using the flat edge of the trowel. Maintain a thickness of around 1/4-inch.
With the notched edge, pull across the thinset horizontally. Excess thinset will stick to the trowel or fall to the countertop.
Flatten down the grooves in the thinset with the broad, flat side of the trowel.
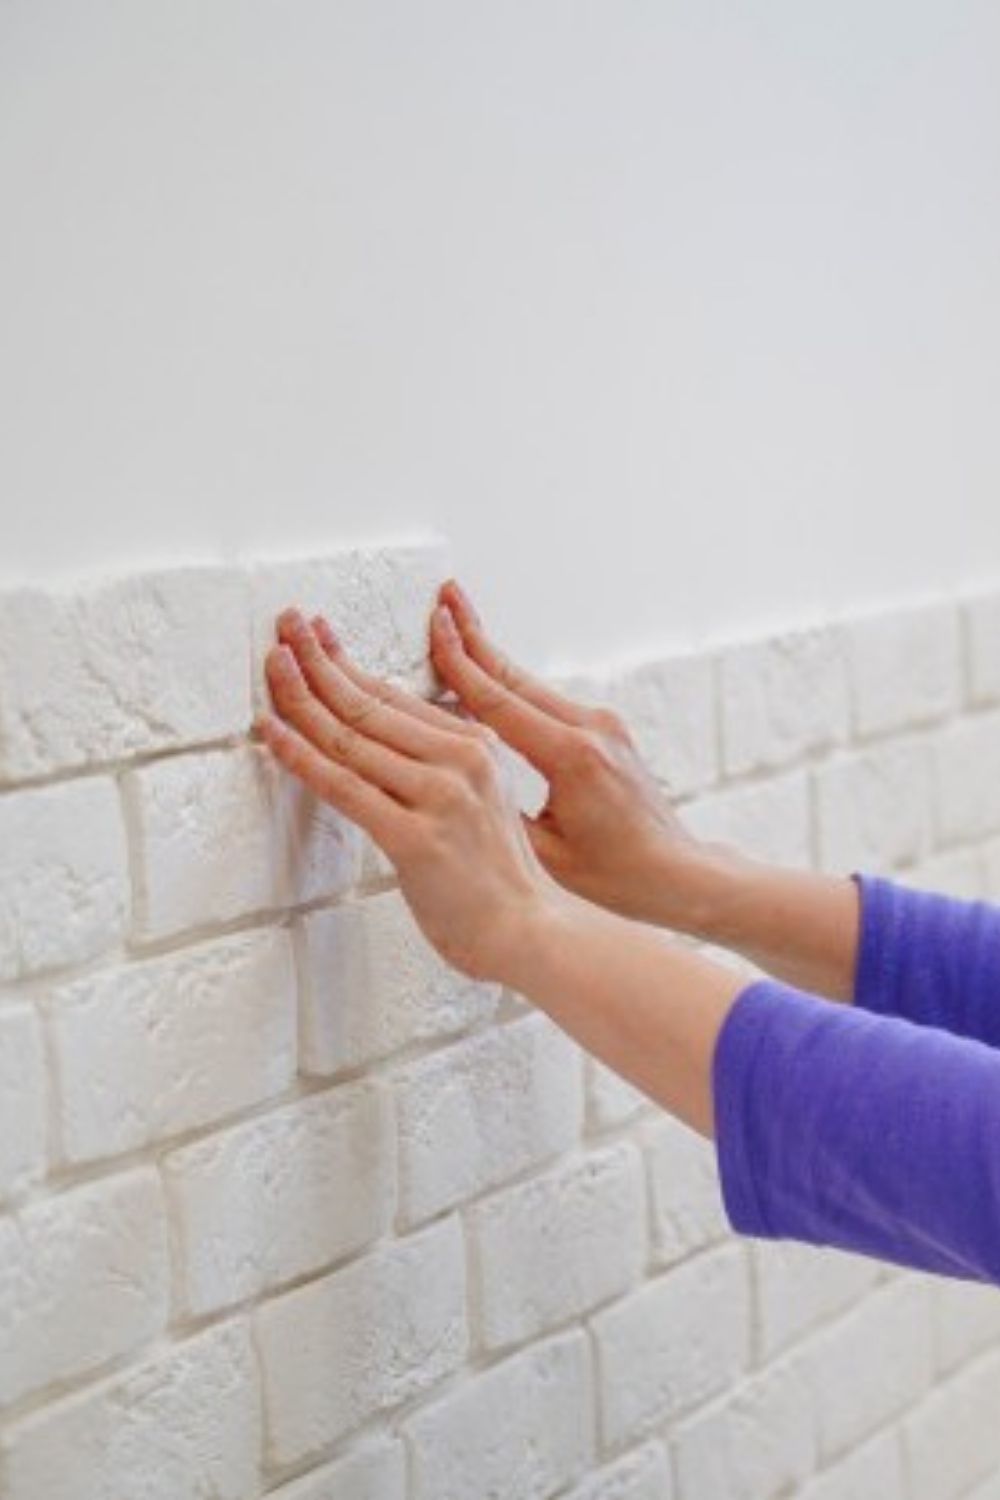
Place the First Tile Row
At the centerline, press a sheet of tiles into the thinset, resting on the countertop spacer. One edge of the sheet should be on the centerline. Tap the sheet with a short scrap piece of one-by-four and a hammer to set the tiles in place.
Fill in the Tile Field
Continue setting more tile sheets within the tile field, from side to side. Once you finish the bottom row, move to the second (top) row. Occasionally tap the tiles with the one-by-four and the hammer to flatten them, especially where tile sheets meet.
Grout the Tile
After the tile has fully cured in the thinset, apply grout with the rubber grout float. Run the float diagonally across the tiles to avoid digging out the grout. After the grout has dried, clean off the haze with grout haze cleaner.
Caulk the Tile
Caulk the corners of the tile. Replace the electrical outlets with extenders, if needed.


