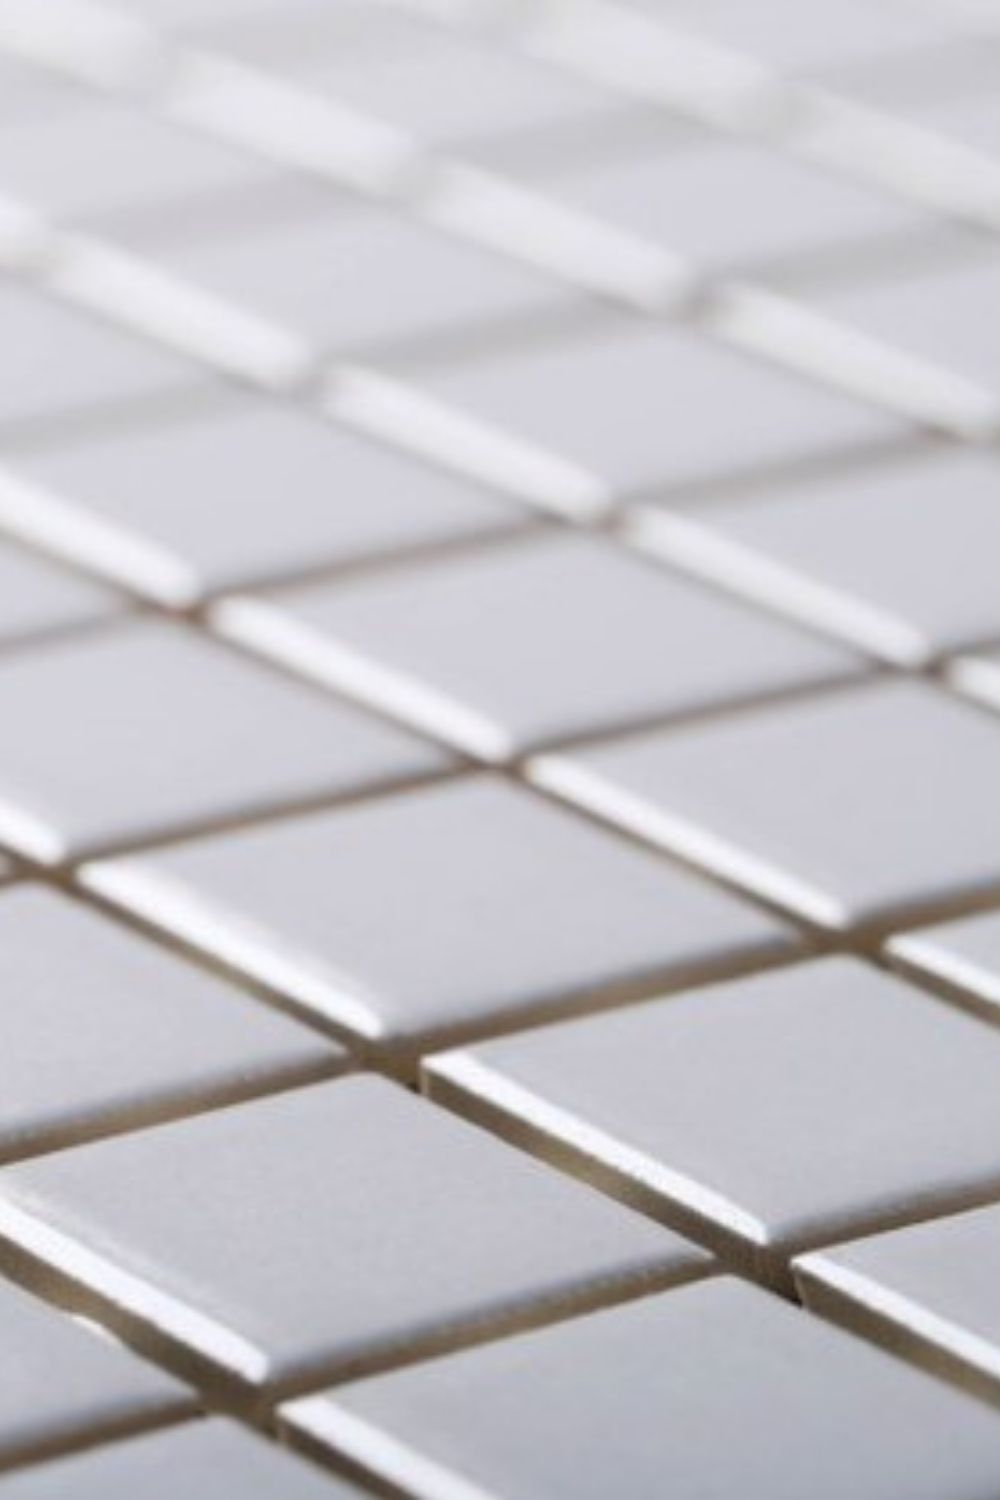
Replacing ceramic or porcelain tile adds value to a home. But new tile can be expensive. Tile-setting, too, is difficult to master—many do-it-yourselfers opt for professional tile-setting. If that wasn’t enough, demolishing and disposing of tile is laborious, messy, and hardly environmentally friendly.
Painting tile is a faster, lower cost, significantly cleaner alternative to full tile replacement. It’s a project that can extend the life of the tile and restore it to an almost-new appearance.
Basics of Painting Tile
Painting tile is unlike many other painting projects because tile surfaces are not designed to be painted. Rather, tile surfaces are often glazed to a high sheen to repel practically anything—dirt, smudges, dust, and oil. By taking some precautions, you can successfully paint your tile and ensure a longer lifespan.
- Choose the Best Surface: Painting tile works best on vertical surfaces such as dry or low-moisture walls or backsplashes or on low-impact horizontal surfaces such as select tile countertops.
- Clean the Tile: Because tile is a protective surface, years of dirt and other build-up can be difficult to remove. Take time to thoroughly clean all areas of the tile, especially the grout seams.
- Scuff the Tile: Glossy surfaces more easily shed paint. Sanding the tile surface creates a matte finish that helps the paint stick better and longer.
- Use Tile Paint Only: Acrylic-latex interior or exterior house paints should not be used when painting tile. For better results and maximum durability, use epoxy paint or paint designated as tile paint.
Pros and Cons of Painting Tiles
Pros
- Prolongs life of tiles
- Avoids removal of existing tile
- Provides a chance to fix minor tile problems
- Less expensive than tile replacement
Cons
- May peel over time
- Covers grout in addition to the tile
- Requires extensive preliminary work
What You’ll Need
Equipment / Tools
- Paint roller and cover
- Paint tray and liner
- Tack cloth
- Orbital sander
- Sandpaper
- Putty knife
- Clean bucket
- Scouring pad sponge
- Latex or latex-substitute gloves
- Eye, hearing, and breathing protection
Materials
- Tile paint
- Epoxy bonding primer
- Polyurethane clear coat
- TSP or TSP-substitute cleaner
- Paintable caulk
- Exterior-grade waterproof spackling paste
- Tile grout
- Painter’s tape
- Sheet plastic
Instructions
- Clean the Tile
Fill the bucket with warm water and add the TSP to the bucket. Wearing gloves, wipe down the tile to remove as much of the dirt as you can. Start at the top and work downward, frequently changing out the bucket with warm water and TSP. Rinse the tile with clean water and let it dry. - Repair the Tile
Thin cracks and small chips on the tile surface can be repaired with caulk. While wearing gloves, apply a small amount of caulk to the crack or chip and wipe level with your finger.
Larger defects can be filled in with exterior-grade waterproof spackle. As with the caulk, apply a tiny amount to the crack or chip. Use the putty knife to wipe off the excess, bringing the filler down to the tile surface. - Repair the Grout
Since painting tile means painting over the grout, too, the grout must be in good condition. For small spot repairs, use tile grout sold in tubes. Apply the grout with a gloved finger, then wipe away. For more extensive grout damage, remove the grout and then replace it with new grout. - Sand the Tile
While wearing eye, hearing, and breathing protection, use a hand-held orbital sander equipped with sandpaper in the #100 to #150 grit range. Do not sand down to the tile body (the section below the glazing). Instead, scuff up the glaze. Clean the tile with water. After the tile has dried, clean once more with a tack cloth.
Tip
Hard pressure on the tack cloth will embed beeswax on the tile surface, requiring another round of sanding. Keep the pressure light. - Protect Non-Paintable Areas
Use painter’s tape and sheet plastic to protect areas that will not be painted. - Prime the Tile
Pour a small amount of primer into a lined paint tray. Dip the paint roller into the primer, then roll out the excess on the tray until the roller is nearly dry. Roll the primer onto the tile, being careful not to press too hard on the roller. Apply only a thin coat to avoid dripping. After the primer has dried, apply a second thin coat of primer. - Paint the Tile
Put a new liner in the paint tray. Add only a small amount of paint to the tray reservoir, then roll out the roller until it is almost dry. Roll the tile surface with one coat of paint, let it thoroughly cure, then apply a second coat. If two coats are not sufficient, you can add a third coat after the second coat has dried. - Apply a Sealer
Once the paint has completely cured, apply two coats of polyurethane sealer to protect the color coats.
Tile Epoxy Paint Types
- One-Part Epoxy Paint: One-part epoxies are easy to work since multiple coats are not required. One-paint epoxies are air-cured products. By contrast, multi-stage epoxies cure by a chemical process. Some one-part epoxies are found in spray can form.
- Two-Part Epoxy Paint: After one component is mixed with a second component, the resulting substance is brushed or rolled onto the tile. It’s usually easier to find two-part epoxies, so more choices are available.
- Two-Process Paint: This type of tile paint requires two separate steps. First, you apply a bonding agent. Second, you apply the top finish coat. Two-process tile paint is tough and long-lasting.


