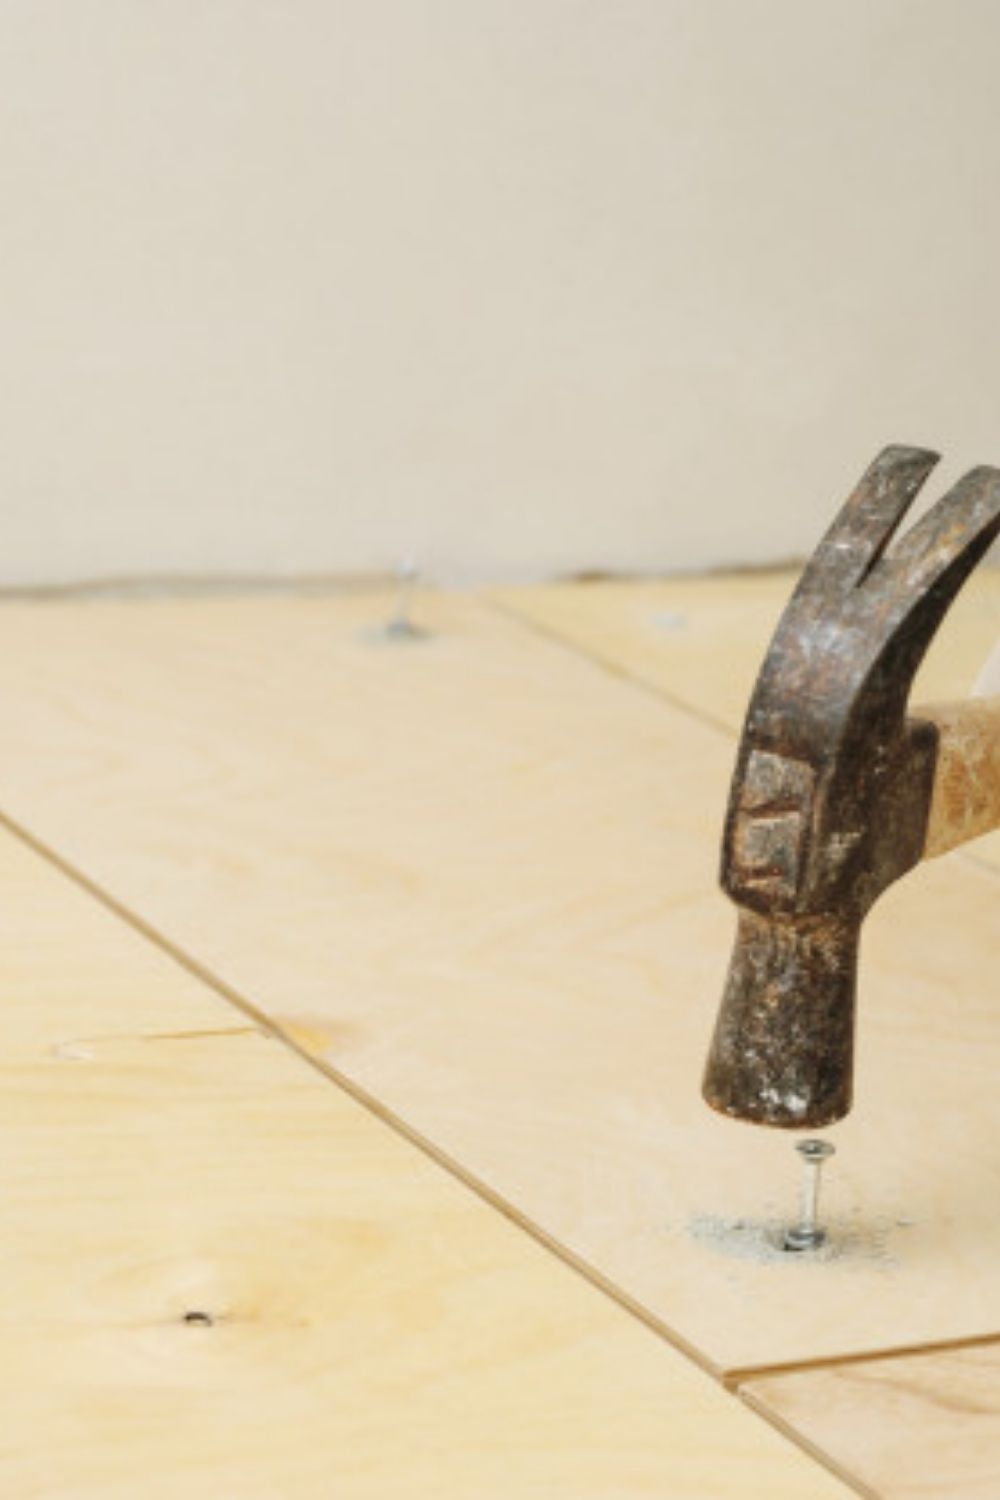
Replacing a subfloor under a wall is necessary when the subfloor is no longer structurally sound. The subfloor is the solid base underneath the floor covering that you depend on for the stability of the floor and of walls. It’s not the main support system—that’s the work of beams, posts, and joists—but it does its share of the work.
The subfloor might be rotted out by water—often the case with walls behind shower controls or walls under poorly functioning windows. In some cases, you can remove parts of the subfloor without having to take down the wall.
Wall and Floor System Basics
Walls and floors are interconnected, creating a structurally tight system. From bottom to top, the system will look somewhat like this:
Joist: A joist is a long, horizontal piece of wood, usually a two-by-eight or two-by-ten, that holds up the flooring.
Subfloor: The subfloor is nailed to the top of the joist. Often 19/32- to 1 1/8-inch thick plywood or OSB, the subfloor might run continuously across the joist or two sections of subfloor may meet on a joist.
Underlayment: Some floors have a thin underlayment that helps to smooth the subfloor for the floor covering. Not all floors will have this.
Floor Covering: The floor covering might be laminate flooring, vinyl tile, luxury vinyl plank, or any other type of floor.
Bottom Wall Plate: The bottom wall plate is the bottom-most part of the wall. It is usually an 8-foot-long two-by-four. Wall studs are nailed vertically to the bottom wall plate. The wall plate itself is nailed (downward) into the subfloor, with nails even extending into the joist.
All items except for the underlayment and floor covering rest under and are nailed to the bottom wall plate.
Removing the Subfloor Under Walls
Removing subflooring while the wall is in place is difficult because the subfloor is trapped under the wall. The process is similar to sliding out a book nailed to the ground while a person is standing on it. It can be done, but with some effort and patience.
You can only remove part of the subfloor. To remove subfloor across an entire wall, you will need to remove the wall.
A safe width to remove is 14 inches since this represents the span between two joints or two studs.
When you encounter rotten subfloor, you often find that the rot extends to the wall or other parts of the floor. So, be prepared to replace more than just the subfloor.
What You’ll Need
Equipment / Tools
Flat prybar
Circular saw
Utility knife
Oscillating multi-tool and metal blade
Hand saw
Drill
Instructions
Turn Off Electricity and Water
At the electric service panel, turn off any circuits that run to the area where you will be removing the subfloor. Shut off any affected water lines, too. If you have intermediary water shut-offs, shut the water off here. If not, shut off water to the entire house at the main shut-off valve.
Remove the Baseboard
With the flat prybar, gently remove the baseboard and any quarter-round trim. Set these pieces aside.
Remove Sections of Drywall
Drywall may extend over the floor covering. If so, cut away a section to the required width and about 1-foot high.
Remove the Floor Covering
Remove the floor covering directly above the subfloor that you want to remove. Also remove a few more inches beyond to give yourself room to work. Some floor coverings will lift off, while others will require cutting.
Laminate flooring and luxury vinyl plank flooring installed parallel to the wall should easily lift off. Self-adhesive vinyl tiles will peel off. Sheet vinyl can be pulled back.
Ceramic and porcelain tile will need to be broken, plus the thinset mortar should be chipped away. Solid hardwood and engineered wood flooring installed parallel to the wall can be pried off, though some boards will become damaged.
Remove Any Underlayment
Some floors have a thin underlayment between the subfloor and the floor covering. For laminate flooring foam or felt underlayment, cut away a section with the utility knife. For 1/4-inch luan underlayment board, set the circular saw at the correct depth to cut only into the luan but not into any materials beneath it.
Cut Away the Nails
Attach the metal-cutting blade to the oscillating multi-tool. While wearing eye and hearing protection, turn on the tool and insert the blade under the wall bottom plate. Cut away all nails that run downward from the bottom wall plate.
Cut Away the Subfloor
Set the circular saw to the proper depth to cut only the subfloor but none of the materials below the subfloor. The circular saw cannot cut flush with the wall, so cut as close as you can get to it. Most circular saws will let you cut as close as an inch or two. Continue two more cuts with the hand saw along the side of the cut-out square until you reach the wall’s bottom plate.
Remove the Subfloor From Under the Wall
If the subfloor is heavily rotted out, you may be able to pull back on the remaining section of subfloor and remove it. If not, attach a 3/4-inch auger bit to the drill and drill to a depth of 3 1/2 inches underneath the wall bottom plate on both sides of the rotted area. The auger bit effectively acts as a saw to cut away the wood. If the edge of the subfloor rests on the joist, the section of subfloor should pull out. If not, proceed to the next step.
Remove Subfloor From Other Side (Optional)
If the subfloor is a continuous sheet that extends beyond the wall, you will not be able to pull out the section that you are working on. Repeat all of the previous steps on the other side of the wall to free up the subfloor so that you can remove it.


