With Cocador you will enjoy to learn knitting patterns which is one more beautiful than the other.
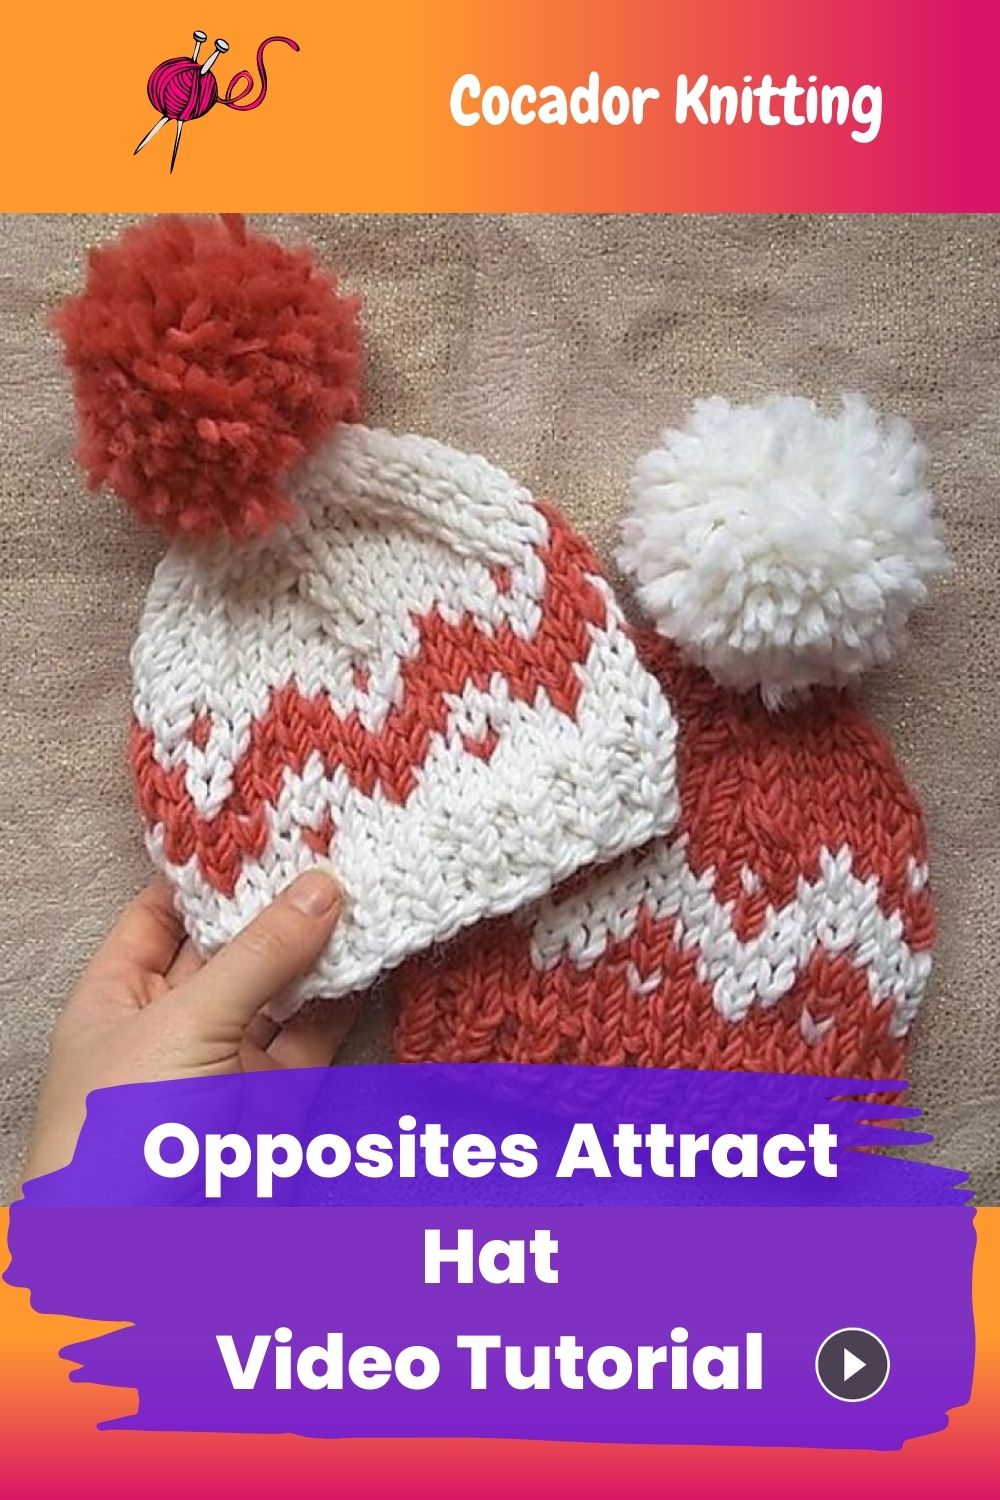
Today we’ll look at closer to opposites attract hats.
- Worked in the round, these hats begin with a ribbed border and then a simple 6 stitch repeat fairisle pattern (both charted and written instructions are included) is worked into the design.
- A great pattern for beginner fairisle knitters, the colour work finishes several rows before the decreases start, meaning there’s no need to worry about having to decrease and knit fairisle at the same time!
- Opposites attract hats can be knit in adult, child, toddler and baby sizes and two 100g skeins of super chunky yarn should be enough to make a set of 2 of any combination of these sizes.
WHAT YOU NEED
Sizes and Tension:
This pattern includes instructions for hats in adult (54cm around), child (48cm around), toddler (42cm around) and baby (36cm around) sizes.
Gauge: 11 stitches and 14 rows to 10cm (4in) over stockinette stitch using 9mm needles.
Information & Equipment
Materials:
- 2 x 100g skeins (96m/105yards each) of super bulky yarn in contrasting colours (e.g Drops Andes). (makes 2 opposite hats of any size combination + pompoms)
- Set of four 9mm (US size 13) DPNs (double pointed needles)
- 1 stitch marker.
Abbreviations:
- K : knit one
- P : purl one
- K2tog : knit two together
First hat:
Sizes are written in the order: Adult (child, toddler, baby)
Using main colour cast on 54 (48, 42, 36) stitches, spread over 3 DPNs (decreases are easier if there is a multiple of 6 stitches on each needle, so either 12 or 18 stitches on each needle), and join in the round being careful not to twist.
Place stitch marker at the beginning of the round.
Work in k1p1 ribbing for 6 (6, 3, 3) rounds.
Next round: knit all stitches.
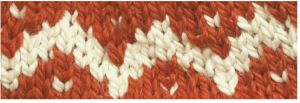
In the next 6 rounds, work the fairisle chart or the written instructions. (9 (8, 7, 6) repeats):
Chart should be read and worked from right to left.
(stitches in main colour are not highlighted (grey on chart), stitches in pattern colour are highlighted in green, and are shown in green on the chart). Round 1: *k1, k1, k2, k1, k1; repeat from * 9 (8, 7, 6) times. Round 2: *k3, k3; repeat from * 9 (8, 7, 6) times. Round 3: * k1, k1, k4; repeat from * 9 (8, 7, 6) times. Round 4: *k4, k1, k1; repeat from * 9 (8, 7, 6) times. Round 5: *k3, k3; repeat from * 9 (8, 7, 6) times. Round 6: *k1, k1, k2, k1, k1; repeat from * 9 (8, 7, 6) times.
Using main colour, knit all stitches for 9 (5, 4, 1) rounds.
*(Add a couple of extra knit rounds here for a slouchier hat)*
Decreases:
Round 1: *k4, k2tog; repeat from * 9 (8, 7, 6) times
Round 2 (and every even round): knit all stitches.
Round 3: *k3, k2tog; repeat from * 9 (8, 7, 6) times
Round 5: *k2, k2tog; repeat from * 9 (8, 7, 6) times
Round 7: *k1, k2tog; repeat from * 9 (8, 7, 6) times
Round 9: *k2tog; repeat from * 9 (8, 7, 6) times
Round 10: knit all stitches.
Finishing:
Cut yarn leaving a long tail and thread through the remaining stiches. Pull tight and tie to secure.
Weave in ends.
Second hat:
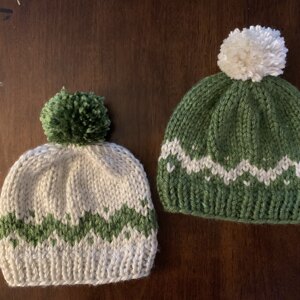
Follow pattern as for first hat, but using the pattern colour as the main colour, and the main colour as the pattern colour.
Pompoms!
My advice would be to make both hats before making pompoms to avoid using up too much yarn and not having enough for the second hat. This is especially important if you’re making 2 adult sized hats.
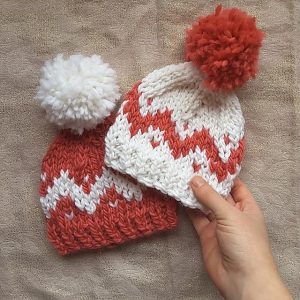
Using the yarn left over from both hats, make 2 pompoms, and attach one to each hat.


