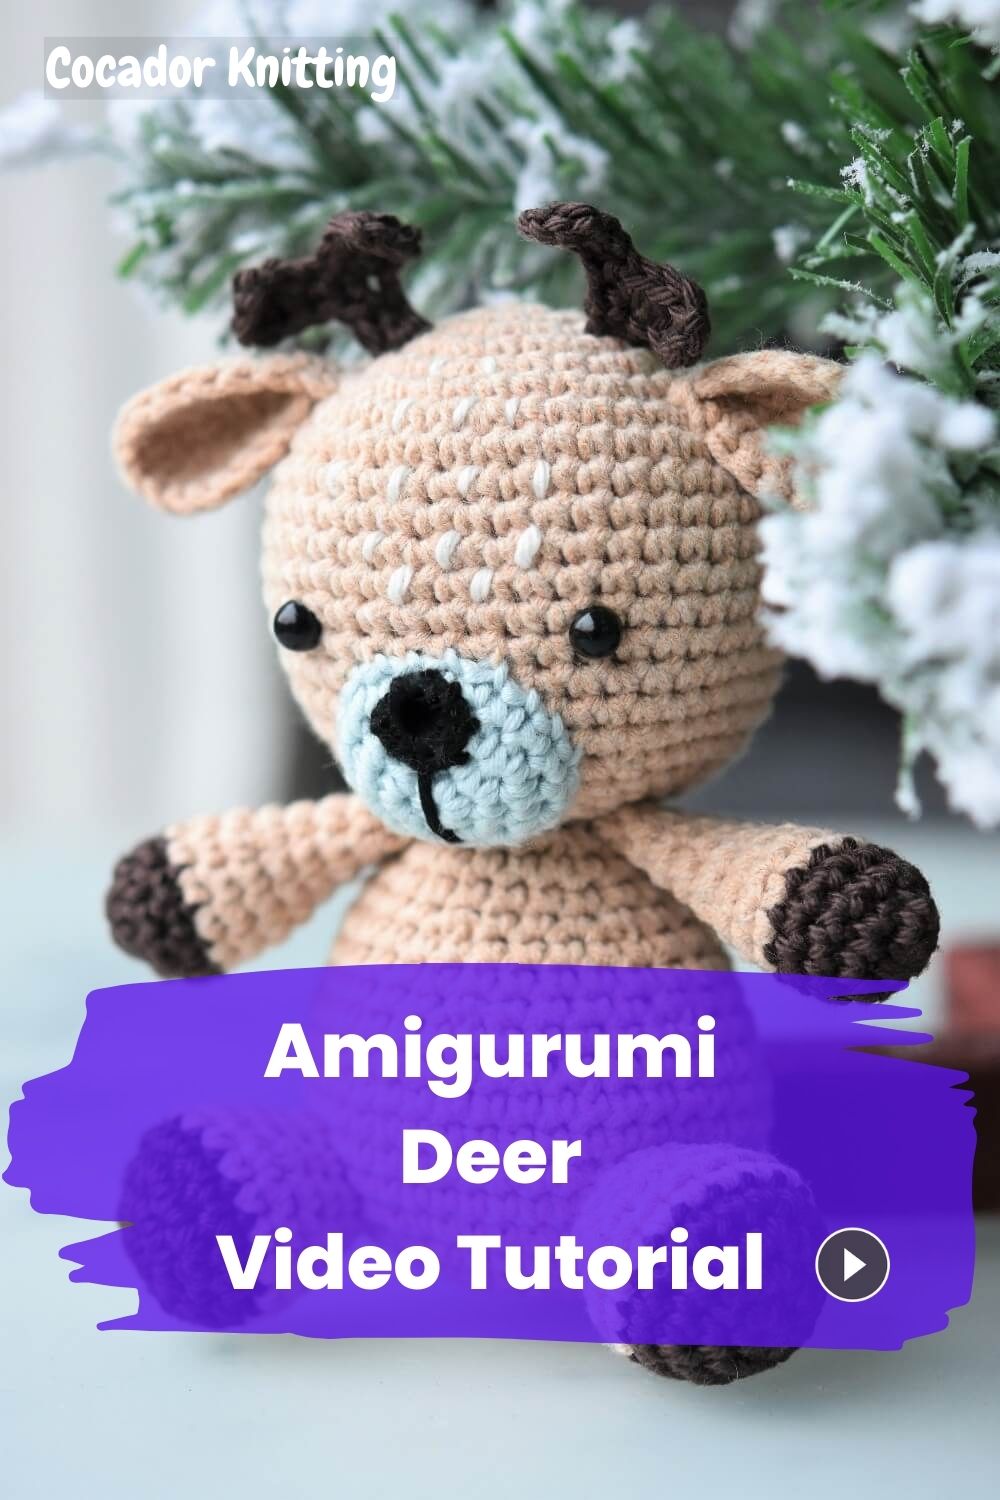
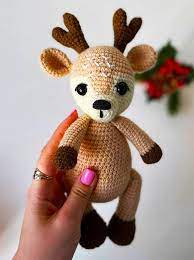
With Cocador you will enjoy to learn knitting patterns which is one more beautiful than the other.
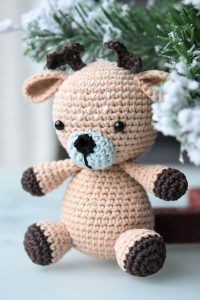
Let’s begin joyfull learning journey with Amigurumi Deers
Abbreviations
- CO cast on
- dpn double pointed needle
- K knit
- st stitch
- sts stitches
- M1 make one stitch (see special note below)
- K2tog knit two stitches together
- pm place a stitch marker
- sm slip the stitch marker
- PU pick up (create) a new stitch from existing work
- SSK (SLIP, SLIP, KNIT) : Slip a stitch (as if to knit it) to
the right-hand needle, slip a second stitch in the same
way, slip both stitches together back to the left-hand
needle and knit together through the back loops.
M a t e r i a l s
• Worsted or light Aran yarn (see fox pattern for
quantity) in a mid brown colour: Yarn A
• Worsted or light Aran yarn (see fox pattern for
quantity) in a beige colour: Yarn B
• 4ply/fingering weight yarn (approx. 4m/4yds) in a
dark brown colour for the antlers
• Scraps of 4ply black yarn 4ply for the eyes, nose
and facial features
• Toy stuffing
• A tiny button
N o t i o n s
• Knitting needles: A pair each of straight 3mm (US 2.5)
and 2.75mm (US 2) and two 2.75mm (US 2) DPNs
(double pointed needles)
• Tapestry needle
Finished deer is approx 23cm (9 inches) from the tip
of the toes to the top of the head
G a u g e:
Gauge for deer: 6 stitches x 9 rows to 1 inch
Gauge for clothes: 7 stitches x 10 rows to 1 inch
Th e p a t t e r n i n s t r u c t i o n s
The deer is made using exactly the same instructions as written in either of my fox patterns, there are however
some differences in the yarn used and in construction:
• For Yarn A use a mid brown colour (instead of a rust) and for Yarn B a beige colour (instead of cream).
Here I have used Cascade 220 worsted yarn in Praline 9695 (Yarn A) and Beige 8021 (Yarn B)
• The ears are joined to the sides of the head, rather than the top as in the fox, see notes on Ears below,
• Once the ears are joined, there are optional antlers to make, see antler instructions.
• After joining the ears and antlers, speckles are embroidered onto the top of the head using duplicate
stitch. Then the eyes, nose and mouth are added (as detailed in the fox pattern).
H e a d:
Knit, finish and stuff the head exactly as detailed, but for Yarn A use a mid brown
yarn (instead of a rust colour) and a beige yarn (instead of cream) for Yarn B.
E a r s: (make two the same):
Make the ears exactly as detailed on either Page 5 or Page 16 of the fox pattern, but for Yarn A use a mid brown
yarn (instead of a rust colour) and for Yarn B a beige yarn (instead of cream). Don’t use black yarn to tip the
outer ear, instead work it entirely in Yarn A.
Once the ears are finished and sewn together
use the cast on tail to sew together the front edges at the base of each ear.
Join the ears to the sides of the head, aligning them 4 rows back from the inner edge of the first row of lighter
colour on the cheek. Use the two Yarn A tails from the ear to join both the top side and bottom side of
the ear. Once the ear is fully attached, tie both yarn tails together at the back of the ear and sew them
through the head and out of the open seam underneath. Join the second ear in the same way then tie
all 4 ends from the ears together and trim excess, poke the trimmed ends inside the head cavity.
If you would like your deer to have antlers, then now is the time to make and attach them.
A n t l e r s: (make a mirrored pair *):
Starting at the thick base of the antler and finishing at the top points. Use dark brown 4 ply weight yarn and
2.75mm needles to cable cast on 8 stitches, leaving an 8 inch tail for attaching it to the head with later.
row 1: (wrong side) Purl
rows 2-5: Beginning with a Knit row and ending with a Purl row, work 4 rows of stocking stitch
row 6: Change to a 2.75mm DPN (double pointed needle), K2tog, K2 (3 stitches)
leave the remaining 4 stitches un-worked (transfer them to a stitch holder if you prefer). Continue on
the 3 stitches only and with 2 DPNs work an i-cord like so:
row 7: Now the 3 stitches are on the right-hand needle and the working yarn is coming from the left-most
stitch. Slide the stitches from one end of the needle to the other and without turning the needle,
transfer it to your left hand. Bring the working yarn across the back of the work and Knit the 3 stitches
again, you will need to keep a tight tension. The only difference from a normal knitted row is that the
yarn is coming from the last stitch and across the back of the work instead of from the first stitch
rows 8-12: Continue working an i-cord by repeating row 7 five more times.
Cut the work from the ball leaving a 4 inch tail, sew this through the 3 stitches on the needle and slide
them off the needle, pull tightly to close the gap at the top of the antler point. Sew the cast off end down
through the centre of the antler point and leave it hanging for now. Continue on the remaining 4 stitches:
row 6b: Leaving an 8 inch tail for seaming with later, re-join the yarn and use 2 x DPNs: K2, SSK (3 stitches)
rows 7b-9b: Continue working an i-cord by repeating row 7 above three times.
Cut the work from the ball leaving a 4 inch tail, sew this through the 3 stitches on the needle and slide them off
the needle, pull tightly to close the gap at the top of the antler point. Sew the cast off end down through the
centre of the antler point and, without deforming the antler points by pulling too hard, tie it to the short cast off
tail from the first point to secure both ends and cut short so that they will be hidden inside the finished antler.
Thread the tapestry needle with the long cast on tail from the second antler point and use it to seam the edges
of the thick lower stem of the antler using mattress stitch. When you reach the cast on edge tie both tail ends
together to secure them. That is the first antler finished.
* Make a second antler in the same way, but reverse the height of the two antler points (make the first i-cord
point 4 rows tall and the second one 7 rows tall), so that the finished pair of antlers mirror each other.
I think the antlers look best with the taller points innermost and the shorter points on the outside, but please
decide for yourself what looks best with the pair of antlers you have made – ideally the seam should run up the
back of each antler.
Next you are aiming to join the antlers so that the base of each is sewn to the top of the head in a small circle.
Thread the tapestry needle with the longest tail from one antler and sew through a stitch on the top of the
head, aligning it with the inner edge of colour change on the nose . Work all around the base of the
antler, sewing alternately through a stitch on the head and a loop of the cast on edge of the antler.
When the antler is fully attached tie the two tail ends together securely and sew them through the head and out
of the open seam underneath. Repeat with the second antler making sure they are in alignment (fig. 9). When
you are happy with positioning tie all 4 tail ends from the antlers together securely underneath the head and
trim the excess, poke the trimmed ends inside the head cavity.
Once your deer head has ears and antlers you can add the embroidered camouflage speckles on the top of the
head, like so:
Cut a 14 inch length of cream yarn and use duplicate stitch/Swiss darning to stitch random single stitches
across the top of the head. I find that they look best if sewn as ‘V’ shapes when the head is facing you (rather
than upside-down ‘V’s) and 7 or 8 stitches is probably about right but you could add more if you prefer.
Once you’re happy with the speckles sew both of the cream yarn tail ends through the head and out of the
open seam underneath. Tie together to secure, before trimming them and poking ends inside the head cavity.
F a c i a l f e a t u r e s
Finish the head by adding the nose, mouth and eyes, as detailed on Pages 7–8 of the fox pattern.
B o d y p a r t s, f i n i s h i n g o f f a n d c l o t h i n g
Continue making and finishing the body, legs and arms of the animal and the clothing by following the
instructions from pages 8–15 in either of my fox patterns.
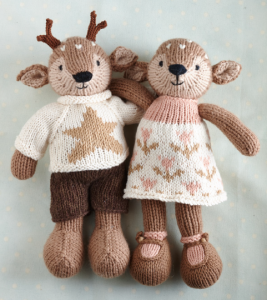
The deer pictured on the front cover of this pattern are wearing the clothing included in the fox patterns. Their
clothes are knitted in the following yarns: Dress, socks and sweater in BC Garn Alba, shades 16 cream, 30
mushroom and 32 rose; shoes in Drops Safran 22 light brown; shorts in BC Garn Allino in CL01 brown.
I hope you’ve enjoyed working from this pattern and are pleased with the deer that you make from it.

